7.3. VTP (Virtual Teach Pendant)
7.3. VTP (Virtual Teach Pendant)
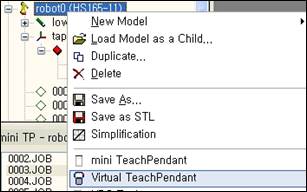
Open popup menu to a robot model in tree window to execute Virtual TeachPendant.
(Or press  button on mini TeachPendant.)
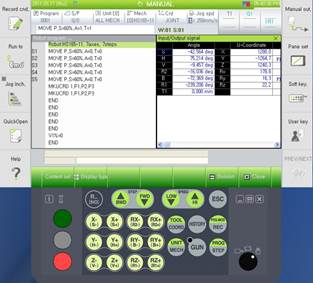
You can run the basic operation with mini TeachPendant mentioned in the previous section but you need Virtual TeachPendant to do a detailed system setting or monitoring.
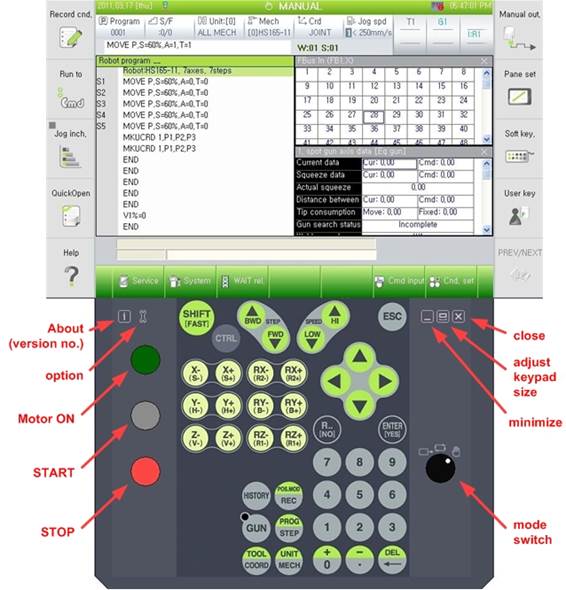
The structure and operation functions of Virtual TeachPendant are almost the same as the ones in actual Hi5 TeachPendant. However unlike the actual one, Motor ON/OFF, Start, and Stop buttons and mode switch are located on both sides of a keypad to utilize space more efficiently. Click the [adjust keypad size] button if the width of TeachPendant is too big to be fit on a screen due to the low resolution of a monitor.
(Vertical resolution of the monitor should be at least 730 pixels. If you use a monitor that is smaller than this, you may not run it even though you reduce the size of the keypad.)
Drag dark borders on the left, right, or bottom of a keypad if you want to move the window.
| Keypad that is reduced with [adjust keypad size] button |
Operations of Virtual TeachPendant and actual Hi5’s TeachPendant are the same.
Sometimes, buttons on TeachPendant don’t work after you operate other windows. If it happens, click TeachPendant screen and retry the buttons. |
There’re 3 tabs in ‘Config’ dialog box, ‘Ethernet’, “Folder Path’, and ‘License.’ Use the default settings in Ethernet and License tab. (You don’t need a separate license for Virtual TeachPendant if you use it with legal HRSpace3.)
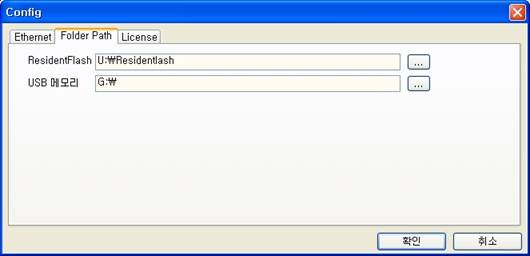
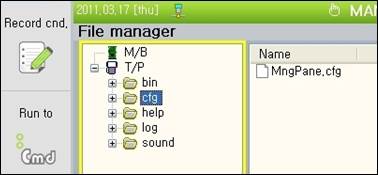
Folder Path is the location of various setting files that is managed internally when virtual T/P is operated. And when the File Manager of VTP is executed, in tree structure, TP and USB are mapped to this path.