5.4.1. Register Font with Auto Tune
5.4.1. Register Font with Auto Tune
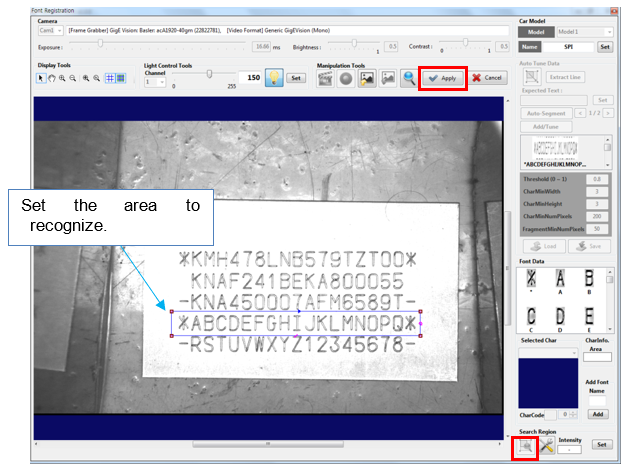
Click the [Setup Character Region] button of Auto Tune Data. A variable rectangle is created, as shown below:
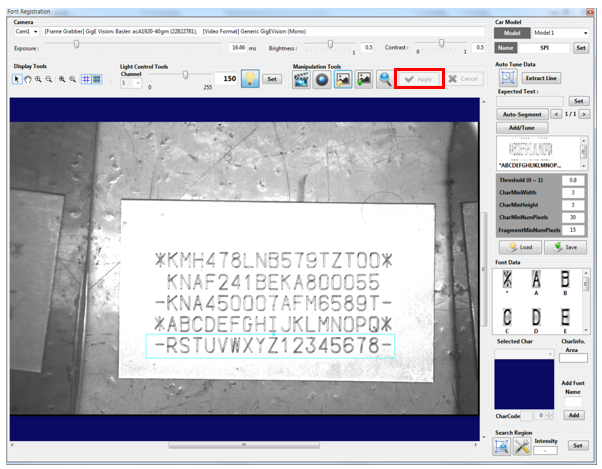
Position the rectangle on the character area to register a font, and then click the [Apply] button.

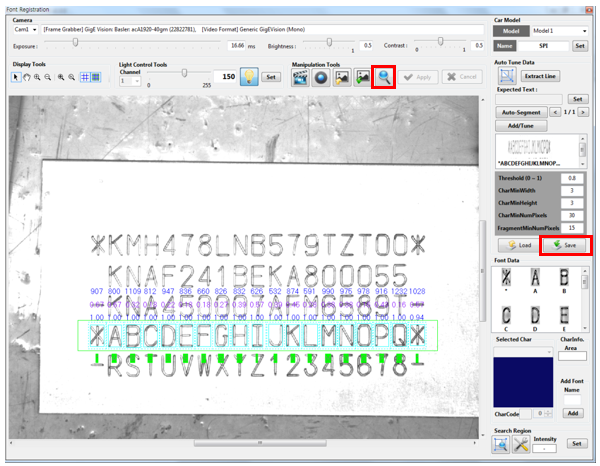
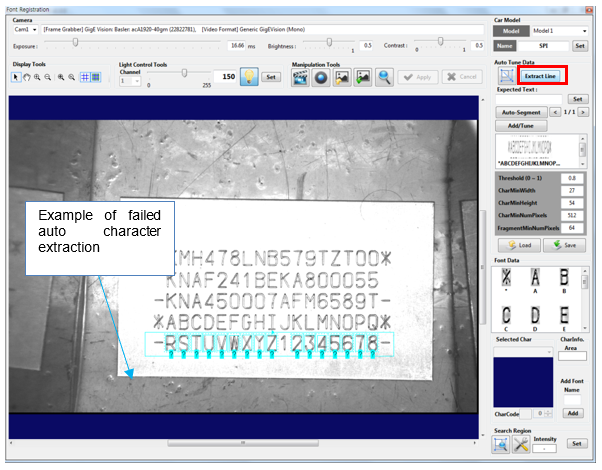
Click the [Extract Line] button to automatically extract characters in the defined area according to currently defined character recognition variables.
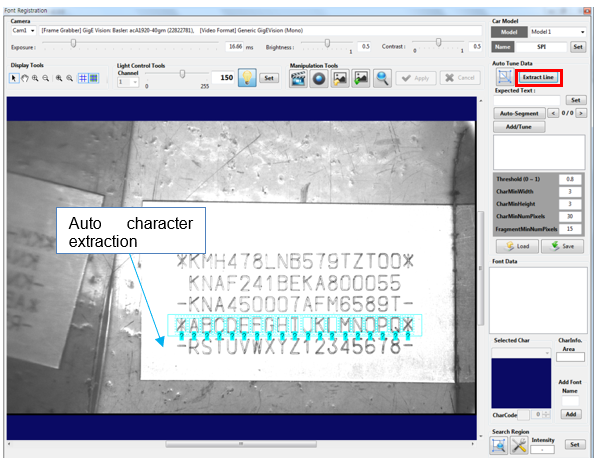
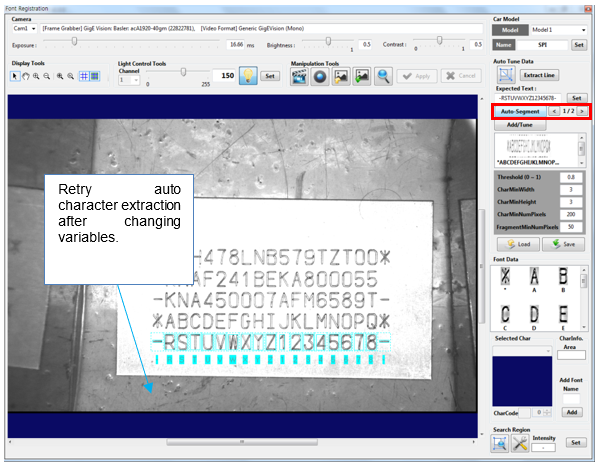
If all characters are not recognized in the area, change the OCR variables to recognize all characters.
Enter letters for recognized characters into the [Expected Text] item and then click the [Set] button.
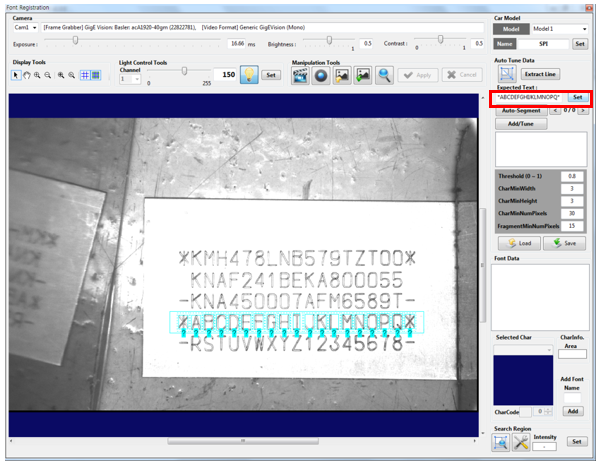
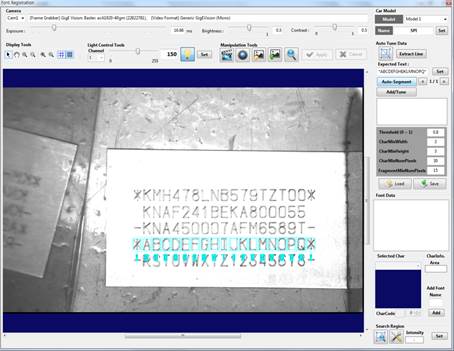
Click the [Auto-Segment] button to display a recognized text for individually recognized characters.
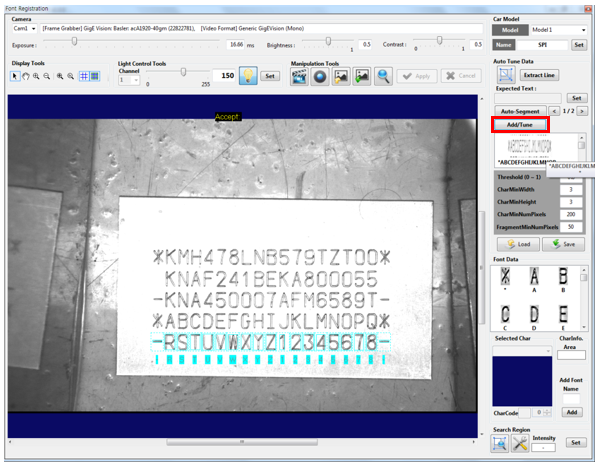
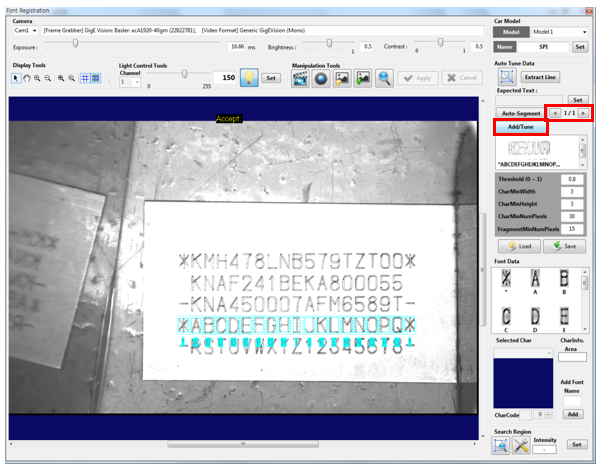
For some cases, multiple [Auto-Segment] results can be output. Click the left/right arrow to select results within the character area, and then click the [Add/Tune] button to register fonts.
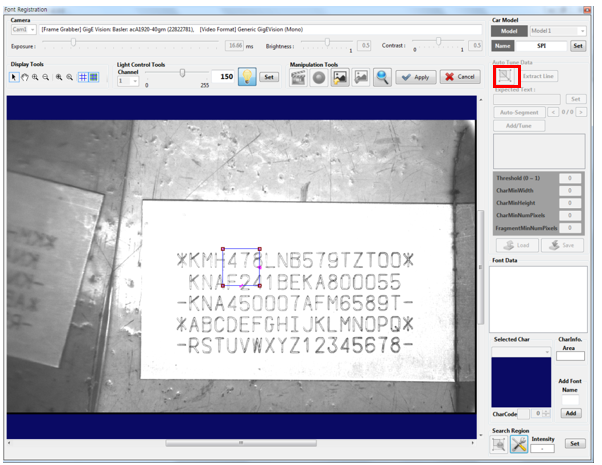
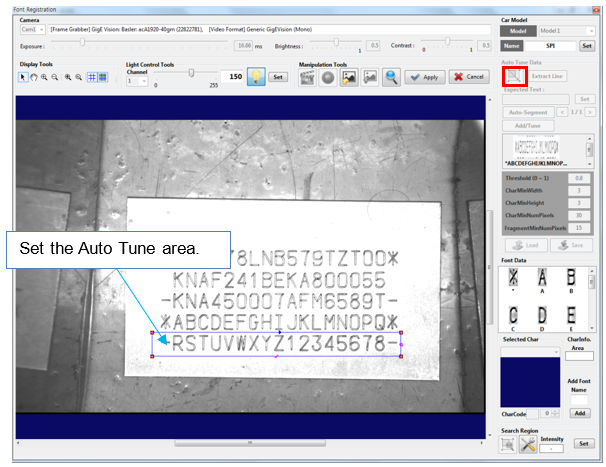
Click the [Change Search Region] button, set the search area, and click the [Apply] button.
Click the [Grab] button and then the [Set] button of [Search Region] to display the average brightness value for the search area of the currently measured image.
Configure it carefully as this value will be the reference data for the auto exposure control function.

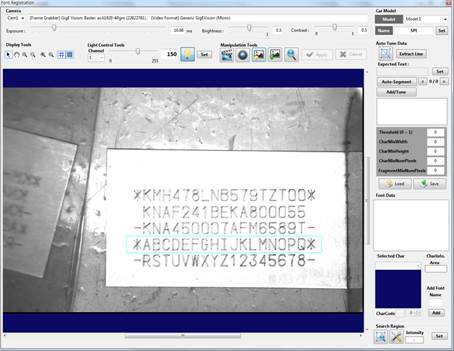
Click the [Save] button and then the [Search] button.
[Score], [Confidence], and [Area] are displayed on top of recognized characters in the configured search area.
To register fonts using the Auto Tune function for other strings, proceed with the same procedure.
Click the [Setup Character Region] button of Auto Tune Data. Position the rectangle and then click the [Apply] button.
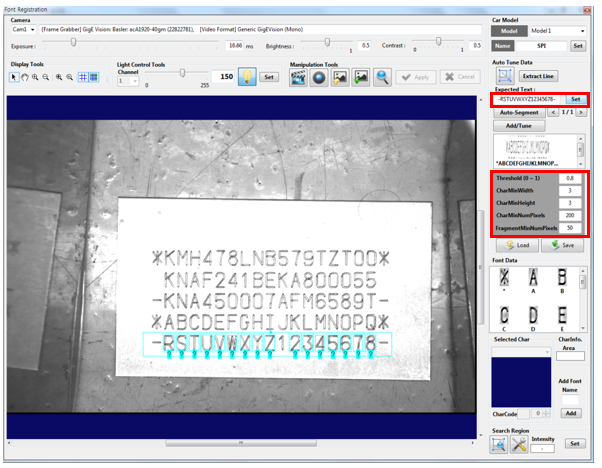
Click the [Extract Line] button to automatically extract characters in the defined area according to currently defined character recognition variables. If all characters are not recognized in the area as follows, change the OCR variables to recognize all characters. In this example, the [Char Min Width], [Char Min Height], [Char Min Num Pixels], and [Fragment Min Num Pixels] variables are changed to recognize “1” and “-.”
Enter letters for recognized characters into the [Expected Text] item and then click the [Set] button.
Click the [Set] button to apply changed variable values.
Click the [Auto-Segment] button to display the recognized text for individually recognized characters.
Several [Auto-Segment] results may be output as follows: Click the left/right arrow to select results within the character area, and then click the [Add/Tune] button to register fonts.