5.2.Install Optical Device
5.2.Install Optical Device
Install cameras and lighting.

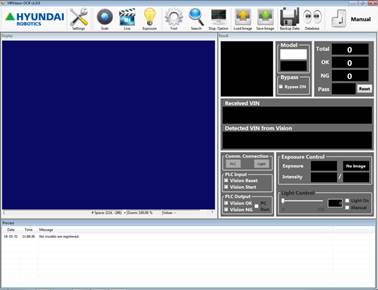
According to the camera setting procedure in Chapter 3, turn off the firewall and set the network adapter and camera IP. After setting the camera, run “HRVision-OCR” to run “HRVision-OCR” with the following splash screen:

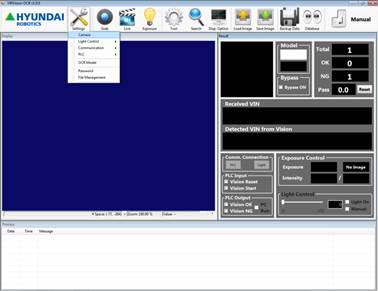
In the initial screen, an abnormal image is recorded because the camera type is not configured. Check the camera type in the “Setting” menu.
The “Settings” and “Tool” setting menus require a password.
Contact the seller for the default password.

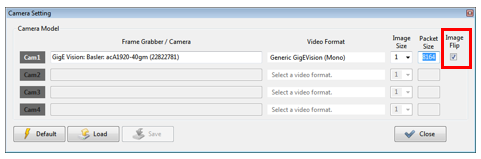
By clicking “Settings → Camera,” the following dialog is created:
Set and save a suitable camera type for process environment.
If the installed camera is inversed, click the Image Flip checkbox to inverse the image.
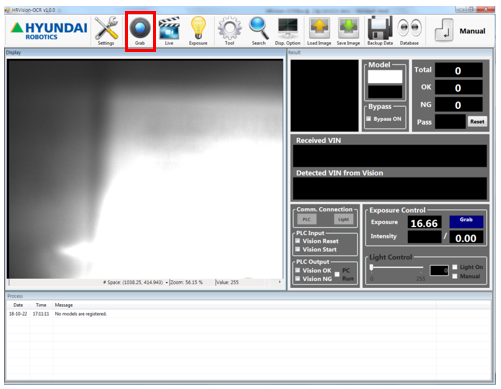
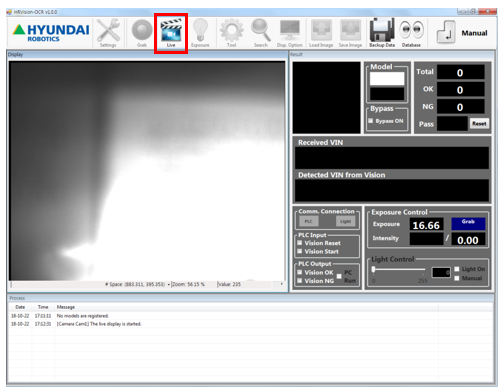
By clicking the [Grab] and [Live] buttons, check if the normal image is recorded.
Click [Live] to disable other buttons. Once the continuous image is checked, click the [Live] button again to finish grabbing the continuous image.
To grab an optimal image, set lens focus and aperture in consideration to the distance between the workpiece, the camera, and the environment.
Fix the camera and check the focus and aperture rings to prevent gaps.
After installing the vision, check if the normal image is recorded when the peripheral equipment is operated.
If there is noise in the image, check the connection and insulation of the camera and cable.