4.5.2.1. Others Pattern mask setting method
4.5.2.1. Others: Pattern mask setting method
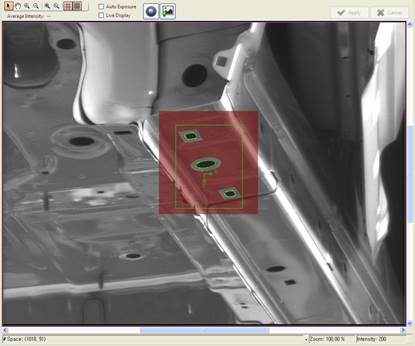
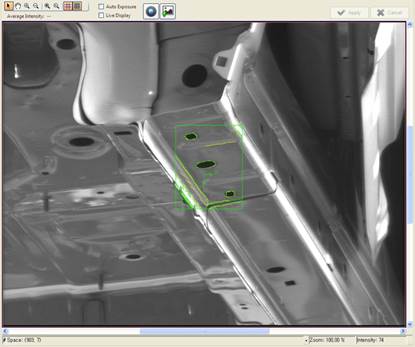
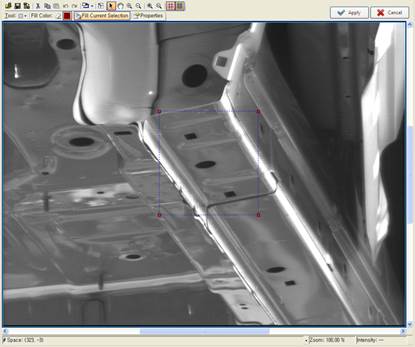
If pattern registration is performed normally, the searched pattern will be displayed on the screen.
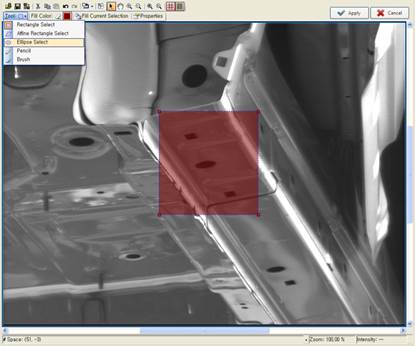
Press the “Mask Image” button to remove unwanted features.

The screen will shift to the menu for setting the mask.

To set a mask region, select one among “Rectangle Select,” “Affine Rectangle Select,” and “Ellipse Select.” In general, “Rectangle Select” is sufficient. However, there will be no problem with selecting another shape.
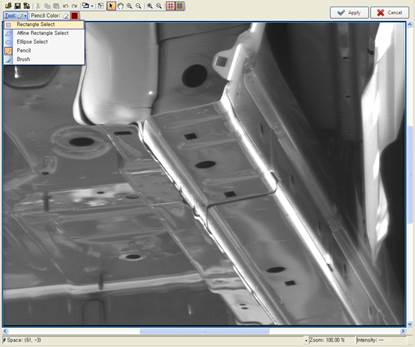
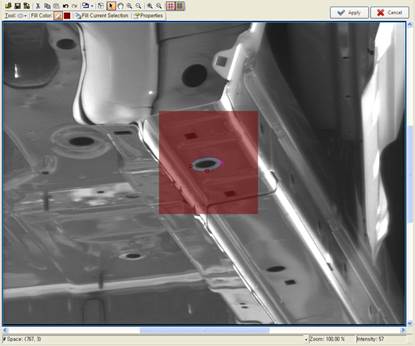
On the left side of the image, there will be a shape formation to set the mask region. When “Rectangle Select” or “Affine Rectangle Select” is selected, a rectangle will appear, and when “Ellipse Select” is selected, a circle will appear, as shown below.
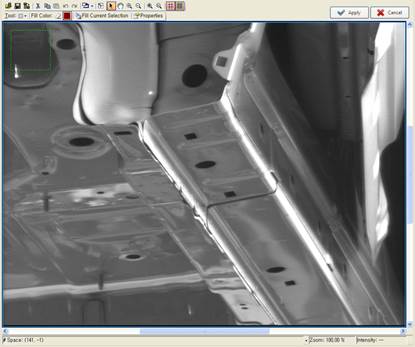
Change the size and position of the mask setting rectangle suitable for the region for which the mask needs to be designated, and then press the “Fill Current Selection” button.
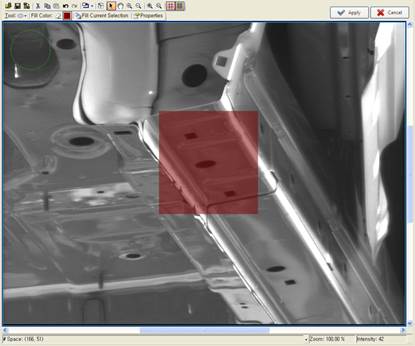
However, the section that needs to be extracted for patterning will also be filled with mask. That is why it is required to exclude the region that needs to be extracted for patterning by selecting one among “Rectangle Select,” “Affine Rectangle Select,” and “Ellipse Select” from “Tool” again.
Selecting “Ellipse Select” will bring up a circle on the top left on the image.
Move the circle to the region that needs to be unmasked. In the menu, select the eraser (“Care (Unmasked) Pixel Color”), and then press the “Fill Current Selection” button.
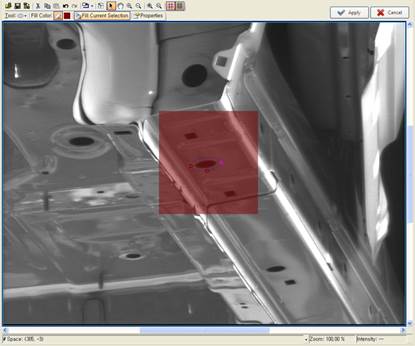
The set region will be removed from the masked region.
To unmask a region using a different shape, select one among “Rectangle Select,” “Affine Rectangle Select,” and “Ellipse Select.” When the unmasking work is completed, press the “Apply” button.