4.5.2. Pattern Addition
4.5.2. Pattern Addition
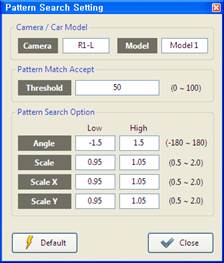
Select a car model and pattern number. The pattern number is used to register different patterns for a car model when the starting point of the patterns must be the same. In general, 1 pattern is registered for 1 car model so select “Pattern 1”.

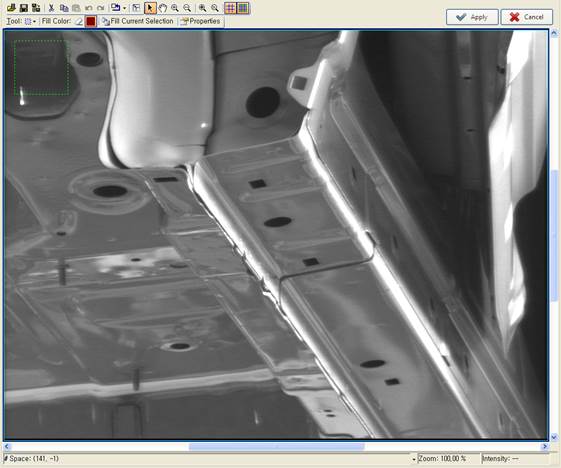
Click “Setup Pattern Region” button to display a rectangle in the screen to configure pattern area.

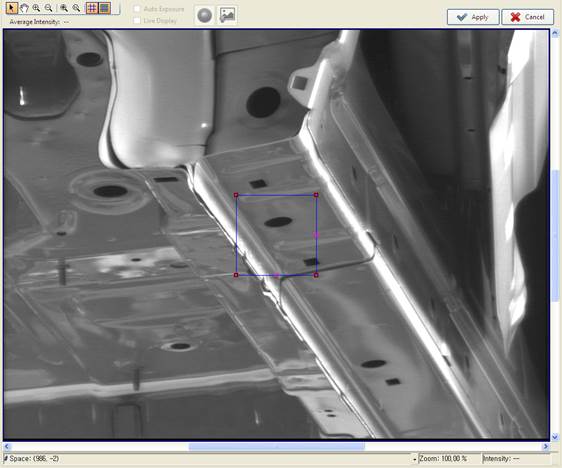
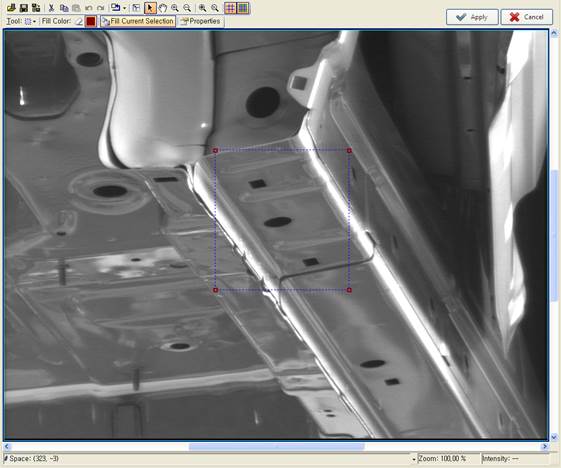
According to the area from which the pattern is extracted, change the size and location of pattern area configuration rectangle. The patterns must be easily distinguishable for each model, and FOV and required accuracy must be considered for the selection.
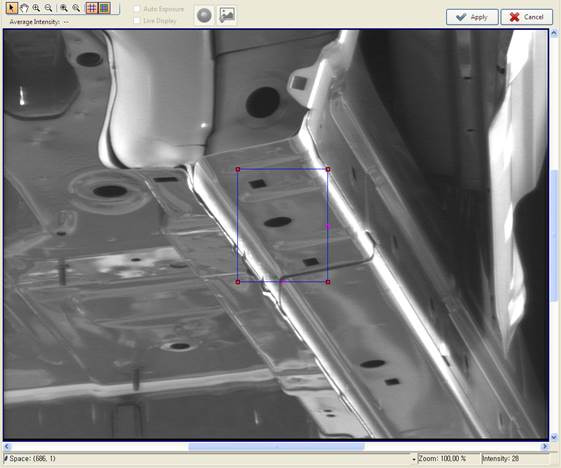
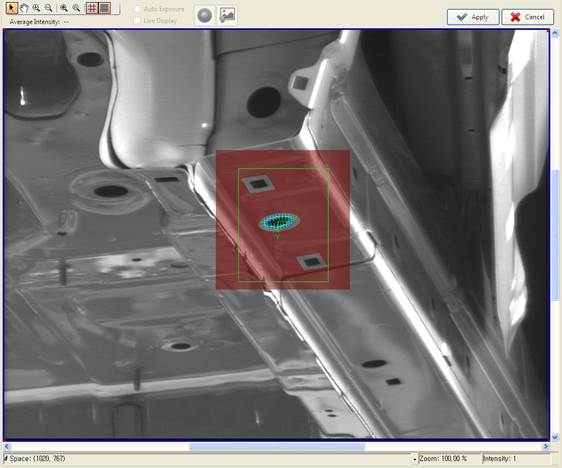
Press “Apply” button to extract the pattern within the rectangle.
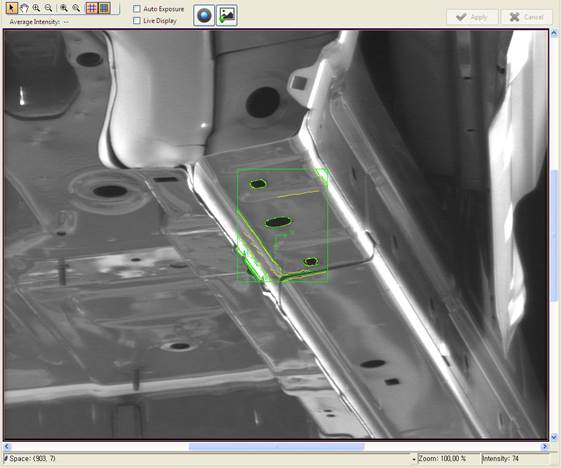
Press “Mask Image” button to remove unnecessary characteristics.

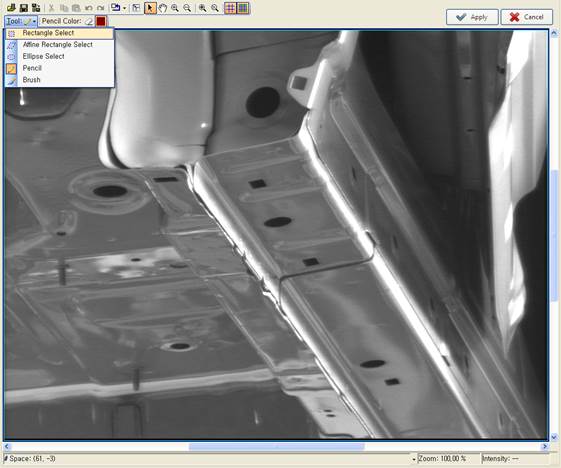
The menus are changed to enable Mask configuration.

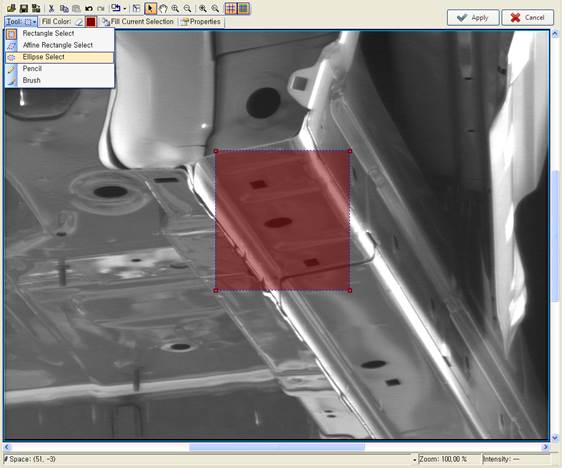
To configure the Mask area, select “Rectangle Select”, “Affine Rectangle Select”, or “Ellipse Select” from “Tool” menu. In general, “Rectangle Select” is good enough but other shapes can be selected if necessary.
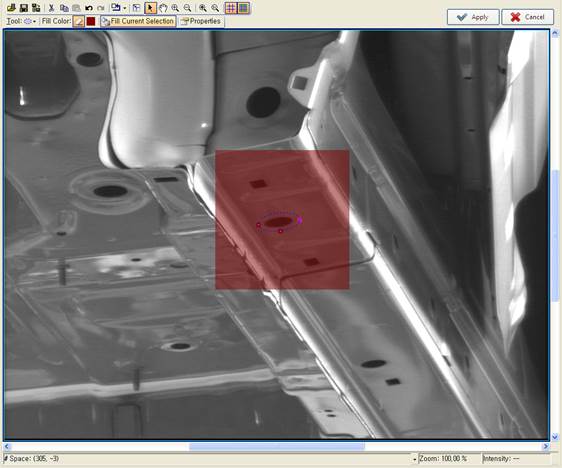
On upper left of the screen, a shape is displayed to configure Mask area. If “Rectangle Select” or “Affine Rectangle Select” is selected, the following rectangle is displayed while if “Ellipse Select” is selected, a circle is displayed.
Based on the area to be designated as Mask, change the size and location of Mask configuration rectangle and press “Fill Current Selection” button.
Because it is filled with Mask until the area to be extracted as a pattern, select “Rectangle Select”, “Affine Rectangle Select”, or “Ellipse Select” in “Tool” to exclude the area to be extracted as a pattern.
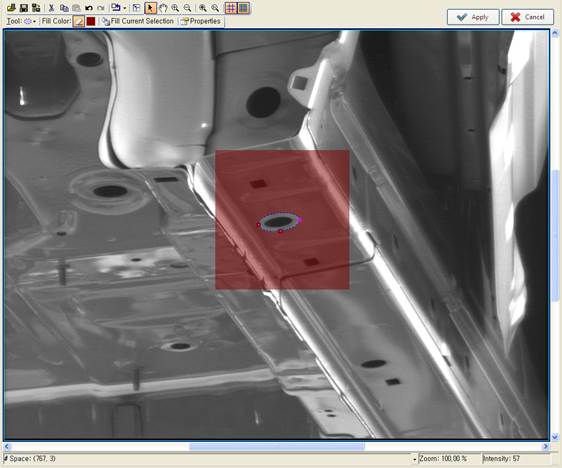
Select “Ellipse Select” to display a circle on the upper left of the image.
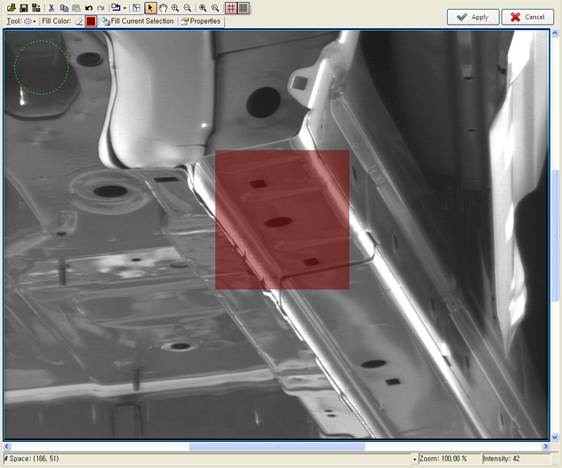
Move the circle to an area to be removed from Mask. Select “Care (unmasked) pixel color” from the menu and press “Fill Current Selection” button.
The configured area is removed from Mask as shown below.
To remove the Mask area in different shape, select “Rectangle Select”, “Affine Rectangle Select”, or “Ellipse Select” from “Tool” and repeat the process. When finished, press “Apply” button.
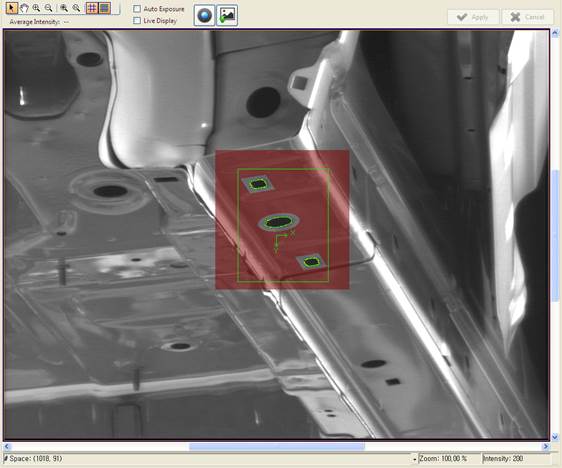
The starting point of pattern is located in a random point so it needs to be moved. Press “Move Origin” button to enable the movement of coordinate axis.

Move the coordinate axis to a hole to be registered as the starting point and press “Apply” button.

To find the exact center of the hole, press “Find Hole Center” button.

Caliper is displayed around the hole to detect an ellipse.
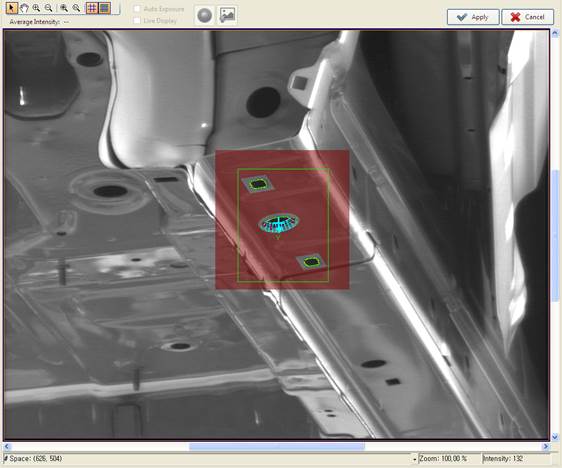
Zoom in the screen by rolling the mouse wheel. Make sure that the caliper is located around the hole. If it is not, change the shape of caliper.
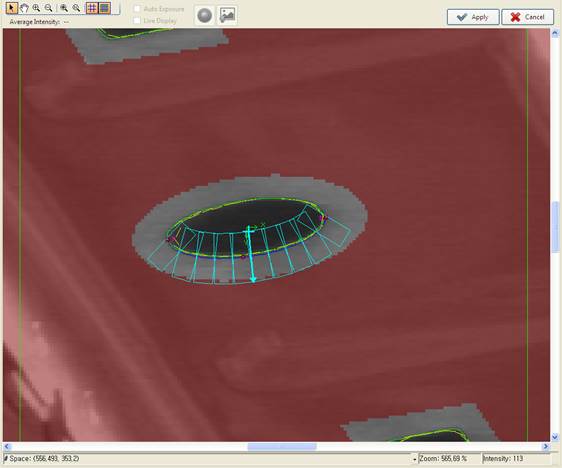
Press “Apply” button to extract the center of ellipse and to display the point for detection as “+.”
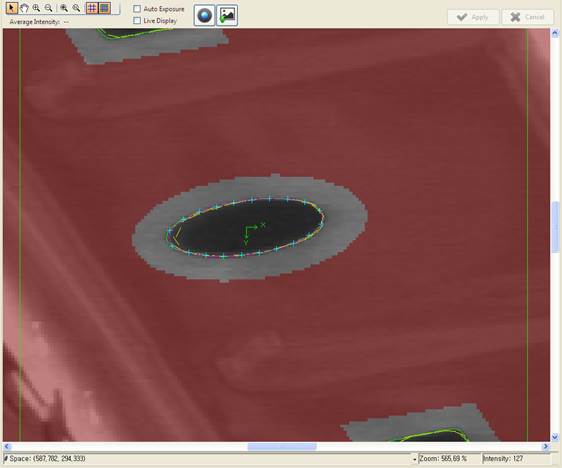
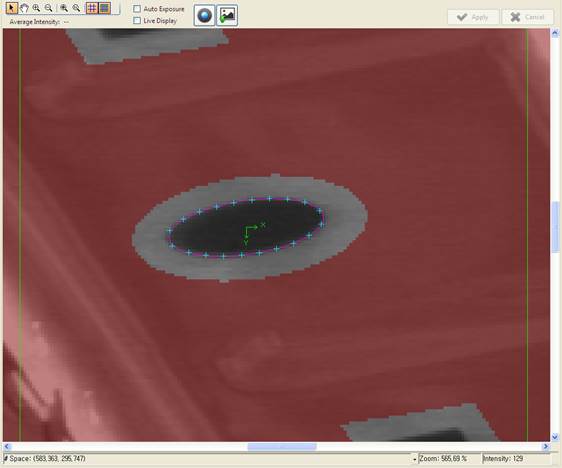
To check if the ellipse is correctly extracted, uncheck “Fine Features” and “Coarse Features” in “Display Option.”

In the image, the characteristics that were extracted as patterns are not displayed but only the points to detect the ellipse and the ellipse are displayed.
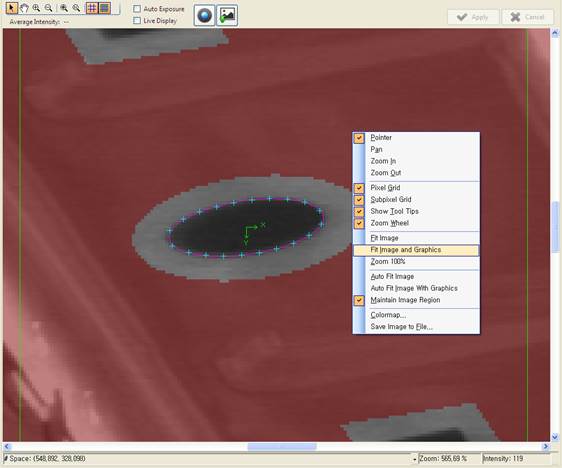
In the context menu, press “Fit Image and Graphics” to go back to normal scale screen.
Initially, the pattern exploration section is the image as whole. Press “Change Search Region” to change the exploration section.

Now, the pattern exploration section can be changed.
Change the pattern exploration section.
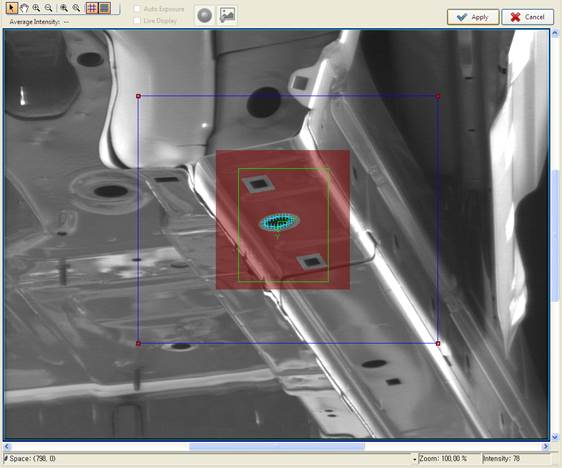
Press “Apply” button to configure the pattern exploration section.

To configure the pattern detection threshold value, press “Advanced Setting” button.

Press “Save” button to register the configured pattern and check if the pattern is registered by pressing “Search Pattern” button.

If a pattern is not registered, the following message window is displayed:

If the pattern registration is OK, the explored pattern is displayed on the screen.
