4.2. Optical Device Installation
4.2. Optical Device Installation
Install the camera and lighting according to the using purpose.
In the following figure, install “HRVision 3D-MultiCam” program and run “HRVision 3D-MultiCam” to create the initial screen of “HRVision 3D-MultiCam.”
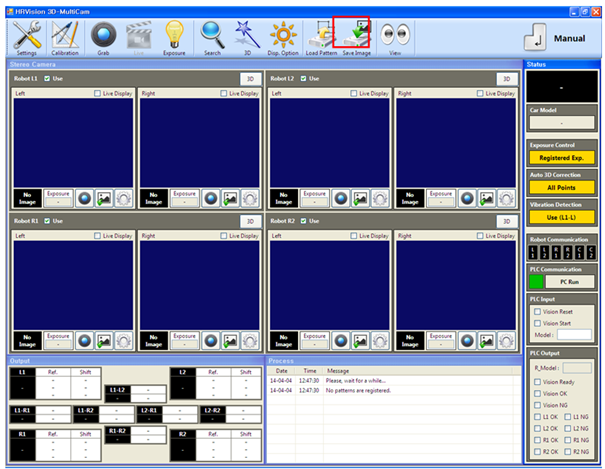
In the initial screen, abnormal image can be recorded because the camera type is not configured. Configure the correct camera type with “Setting” menu.
“Settings” and “Calibration” configuration menus require password. Contact the seller for the password.

Clicking “Settings Camera” will bring up a window for setting cameras. REF _Ref432967072 *r *h * MERGEFORMAT Set the cameras by referring to 3.1.2.
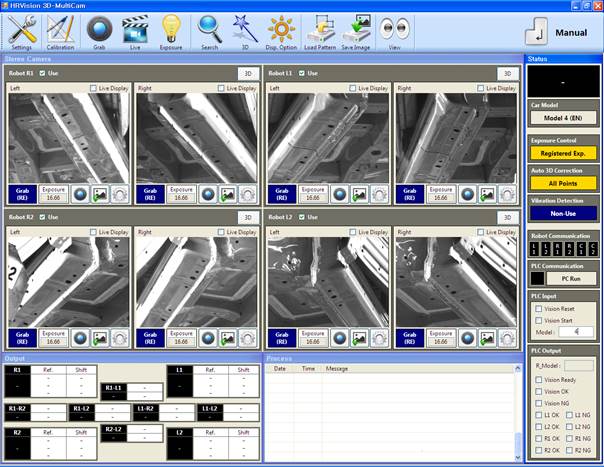
Among the manipulation buttons, click the “Grab” and “Live” buttons to check whether the images are acquired normally.
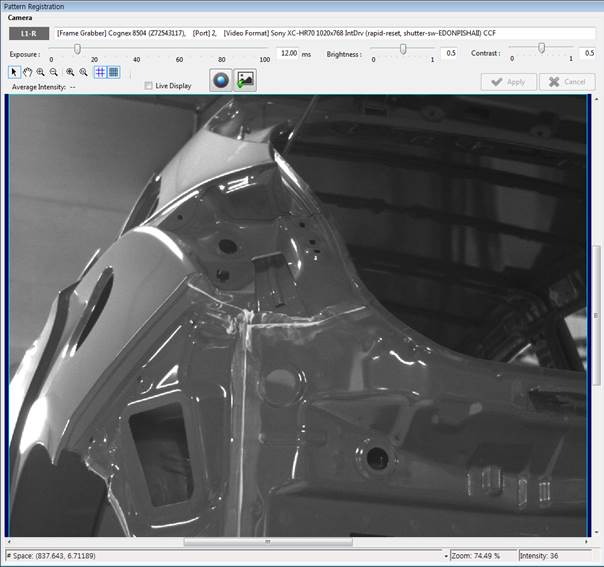
Set the lens focus and the aperture to be fit for the distance between the workpiece and the camera as well as for the surrounding environment. When the “Pattern Registration” button of each image is pressed ( ), its enlarged image will be displayed, making it possible to set the lens focus and the exposure more easily.
Fix to ensure that there is no gap in the camera and check the lens focus ring as well as the aperture ring.
After the vision is installed, check whether the images are acquired normally while the peripheral devices are operating normally.
When there is noise on the images, check the insulation state of the cameras and cables.
When the user wants to lay out the screens in line with the layout of the processes, press the “Settings Screen Layout” to change to a desired configuration.