4.2. Optical Device Installation
4.2. Optical Device Installation
Install the camera and lighting according to the using purpose.
Set the distance between the workpiece and camera, focus & iris of the lens to fit the surrounding environment.
Fix the camera so as not to create a gap. Check the camera’s focusing ring and aperture ring.
After the Vision installation is complete, verify that images are normally obtained even when the press or other peripherals operate. If there is noise in the image, check the insulation condition of the camera and cable etc.
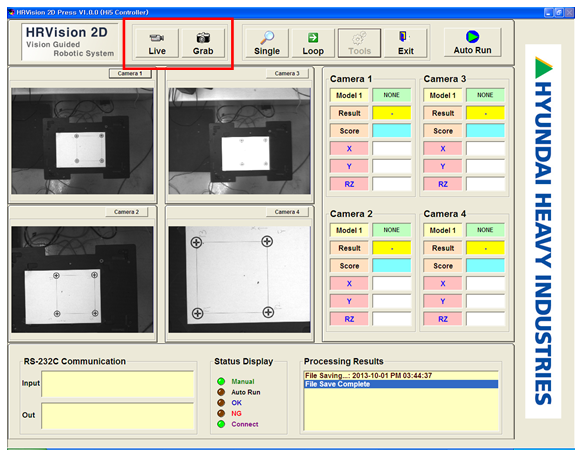
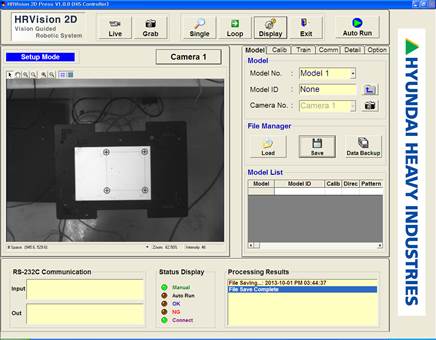
The following picture is the initial screen when executing the “HRVision Press” after installing the optical device and “HRVision Press” program. In the first execution, since camera type is not configured, normal image acquisition is not possible.
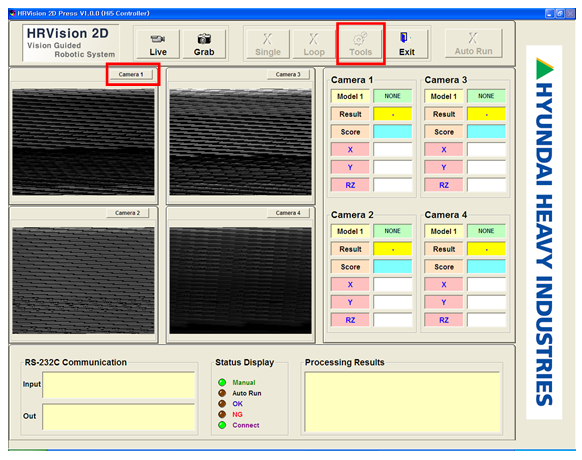
Click the “Camera 1” button in the image window. Then, click the “Tools” button in the manipulation buttons to convert into the setup mode. Enter the passwords to access the setup mode.
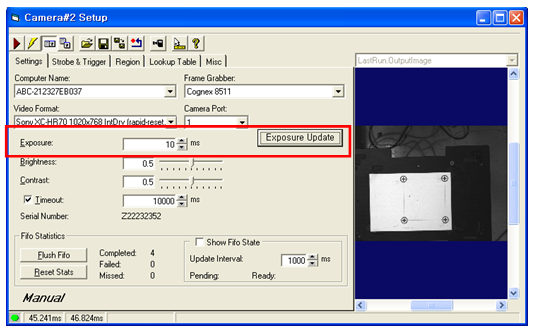
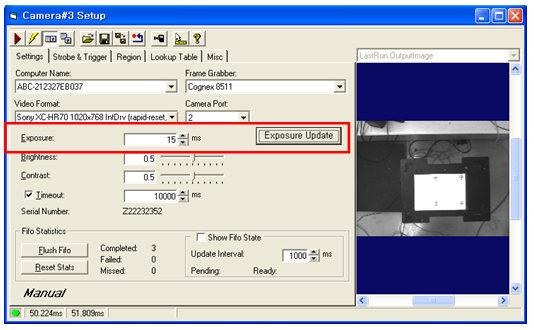
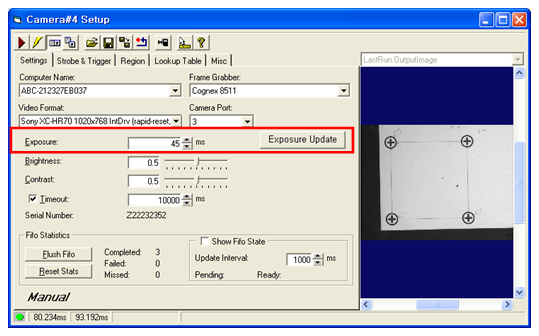
Clicking of the  button creates the following "Camera Setup" dialog. Configure "Video Format", "Camera Port", and "Exposure" to fit the installed camera, and click the "Exposure Update" button.
The camera 1's port number is 0.
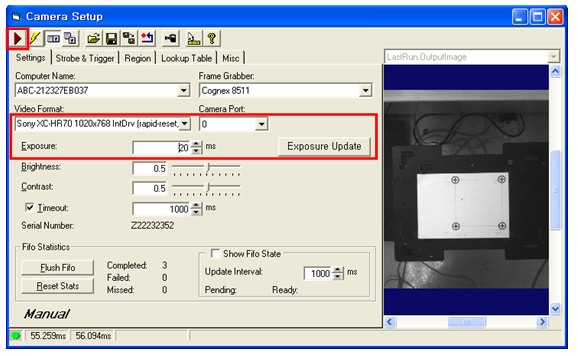
After properly setting the camera, click the  button of the "Camera Setup" dialog, and check whether images are normally acquired in the image window placed on the right.
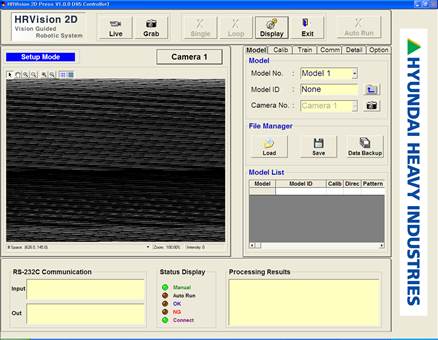
By clicking the "Grab", and the "Live" buttons to check for normal image acquisition, click the "Save" button of the "Model" tab to save the current setting.
Click the “Exit” button in the manipulation buttons to exit the HRVision Press program.
Restart the “HRVision Press” program. The program will be loading the images obtained from the 4 cameras, which were saved in the previous step.
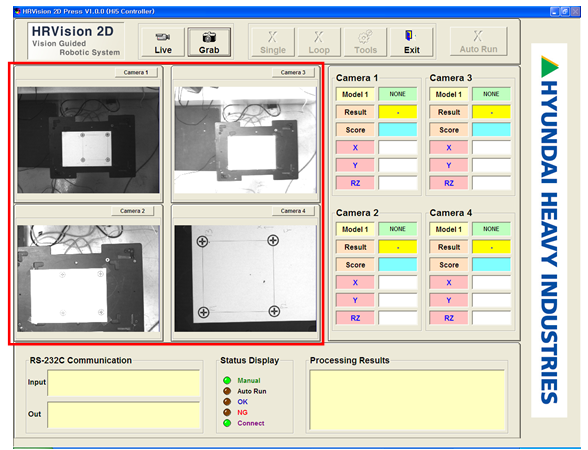
The call “Camera Setup” dialog for Cameras 2–4 is the same with the Camera 1. Set up the appropriate exposure.
Switch to display mode and click the “Live” and “Grab” buttons in the manipulation buttons to confirm that images from the 4 cameras are normally obtained. Once the images are normally obtained, click the “Save” button of the “Model” tab to save the current setting.