4.1.2. PC Side Setting
4.1.2. PC Side Setting
First, you must select the communication method to RS-232C. Click on the  button from the Tool Bar or select『Tool (T) – Option (O)』from the menu to open the option dialog box as shown in [Figure 4.2].
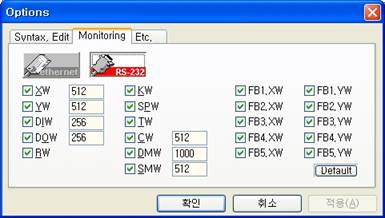
Figure 4.2 Option Dialog Box
(1) After selecting the monitoring tab from the option dialog box as shown in [Figure 4.2], press the  button and click on OK. The communication method will be set to RS-232C and the dialog box will be closed.
(2) Next, you must set the parameter of RS-232C.
(3) Click on the  button from the Tool Bar or select『Tool (T) – Comm Setup... (C)』 from the menu to open RS-232C communication setting dialog box as shown in [Figure 4.3].
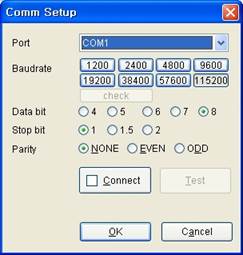
Figure 4.3 RS-232C Communication Setting Dialog Box
(4)  Button in the RS-232 communication setting dialog box must be unchecked (That is, not connected) to make changes to the parameter. Therefore if this is checked, uncheck the box.
(5) Select the communication port that RS-232C cable is connected on the PC and set the same baudrate as that of Hi5 Controller. Set the data bit, stop bit and parity as they are set up in Hi5 Controller as shown in [Figure 4.3].
(6) Click on OK to apply the setting and close the dialog box.
(7) The communication port and baudrate that has been set will be displayed on the PLC Control Bar as shown in [Figure 4.4].

Figure 4.4 Display of Communication Port and Transmission Speed on PLC Control Bar